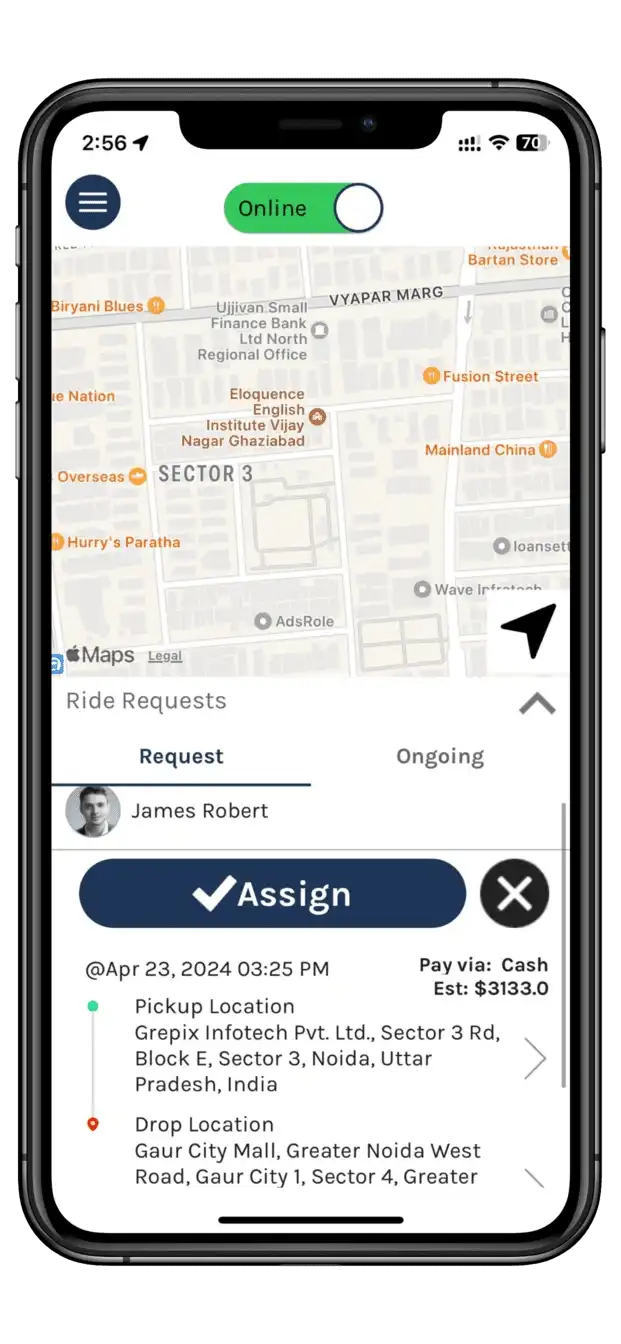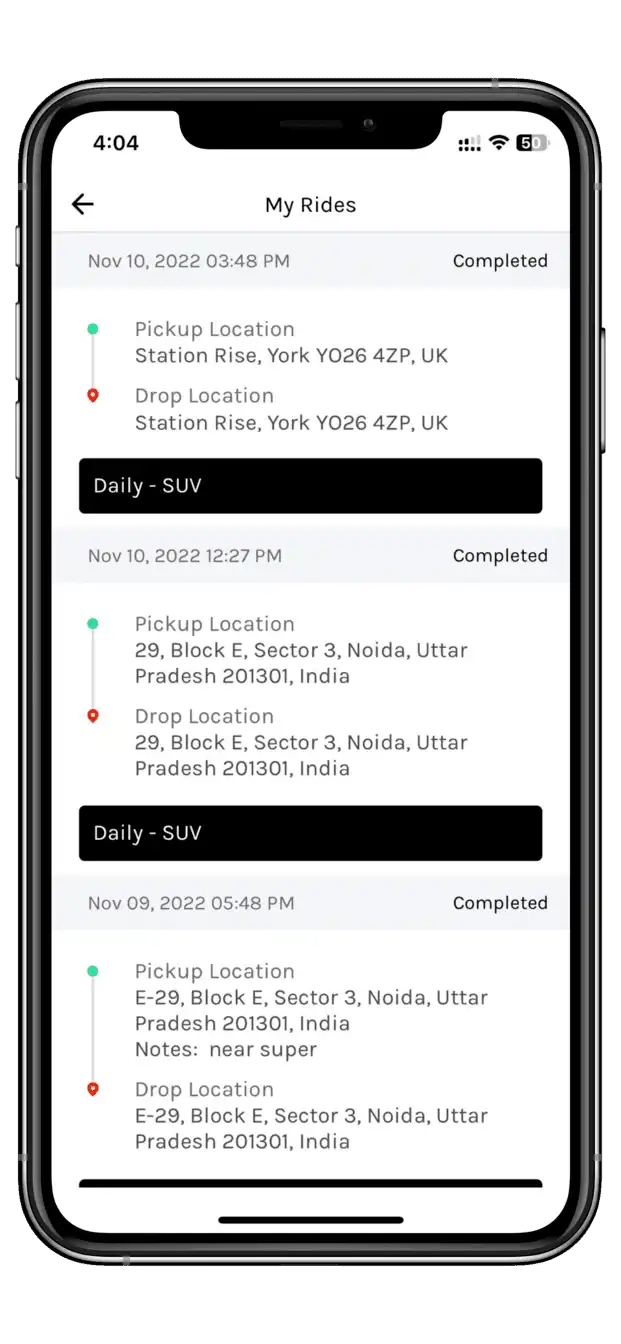
Taxi App Workflow

How Our Taxi App Booking Workflow Works, Step by Step

See exactly how the passenger app, driver app, and admin panel work together on a single ride — not as a flowchart, but as the real screens your users will actually tap through.

Screen-by-Screen Walkthrough

18 Real App Screens: Passenger, Driver & Admin Panel in Action

From the first sign-up screen to the driver's payout confirmation, in the exact order a ride actually happens.
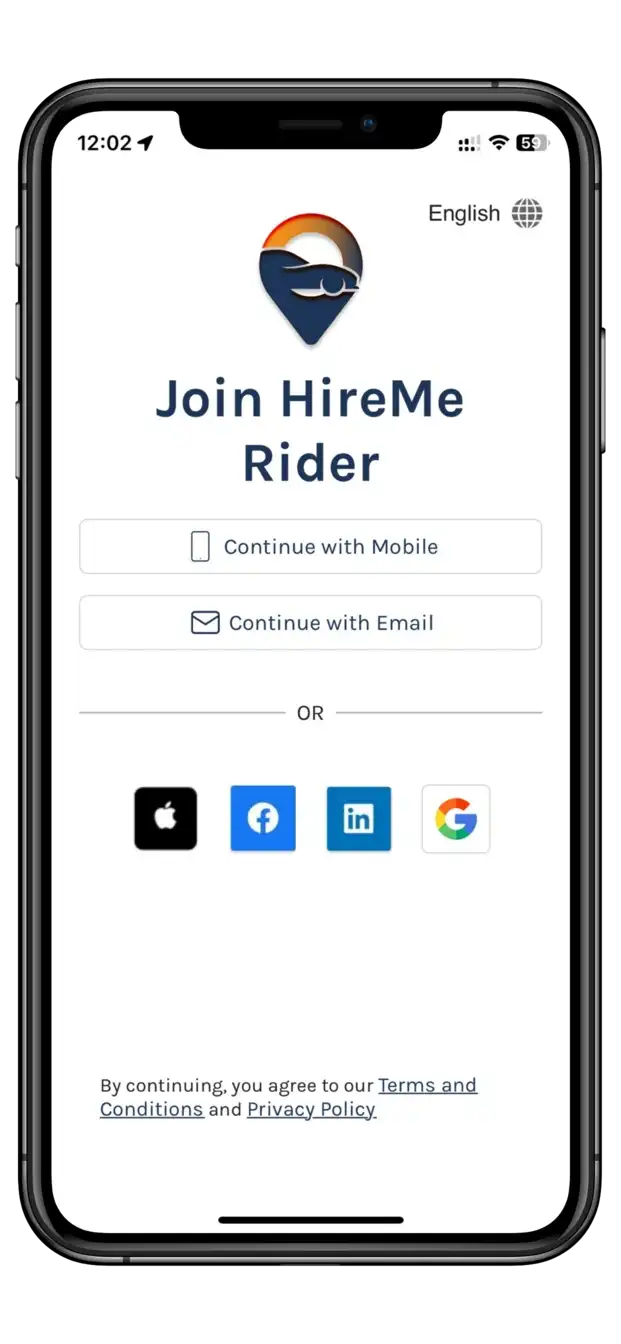
taxi app sign up and registration screen
1

Sign Up & Registration

The very first step for any new rider or driver is creating an account. To keep drop-off low, the app supports multiple sign-up routes at once instead of forcing everyone through a single flow.
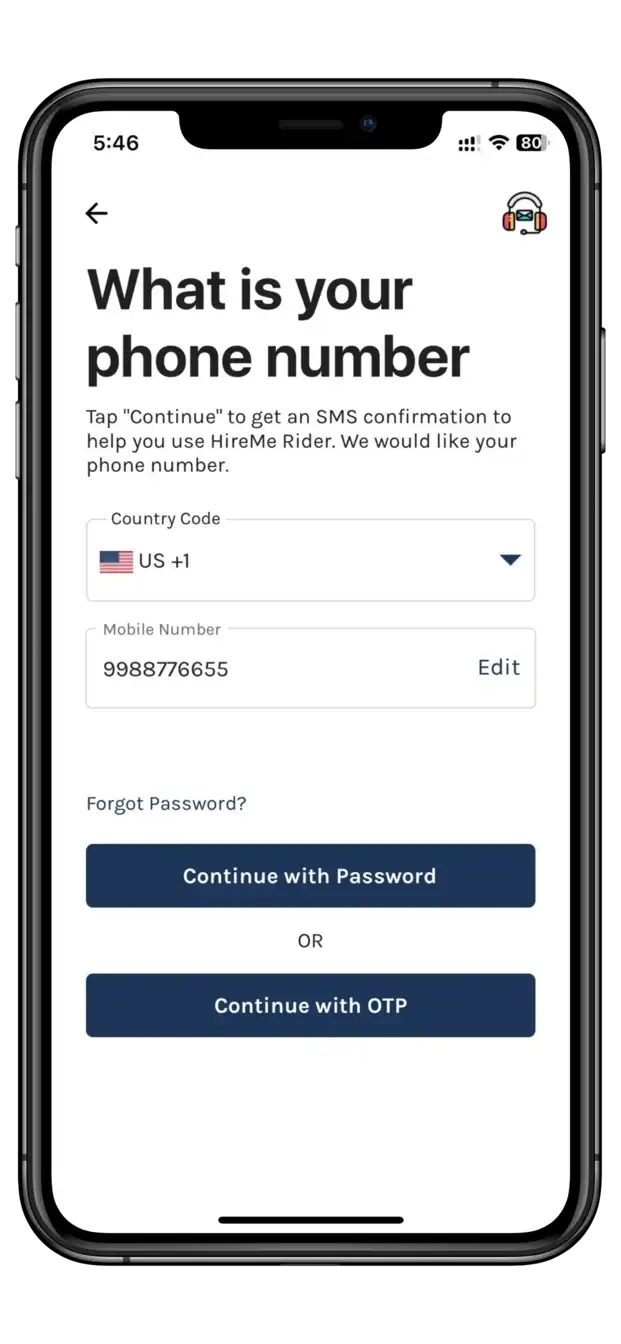
Primary Sign-Up Method
  • Enter mobile number + password, then verify with a one-time OTP sent by SMS
Other Ways to Register
  • Email ID + password login
  • One-tap sign-up via Google, Facebook, or LinkedIn
  • WhatsApp-based registration for markets where WhatsApp is the primary messaging app
driver app login screen
2

Driver Login & Onboarding

Drivers use the exact same flexible login system as riders, but land on a dedicated driver app built for one-handed use while on the road.

Driver Can Log In With
  • Mobile number + OTP (fastest, most common)
  • Email + password
  • Google / Facebook social login

New drivers are routed straight into onboarding after their first login, so they can't accidentally go live before completing verification.
rider app side menu screen driver app side menu screen
3

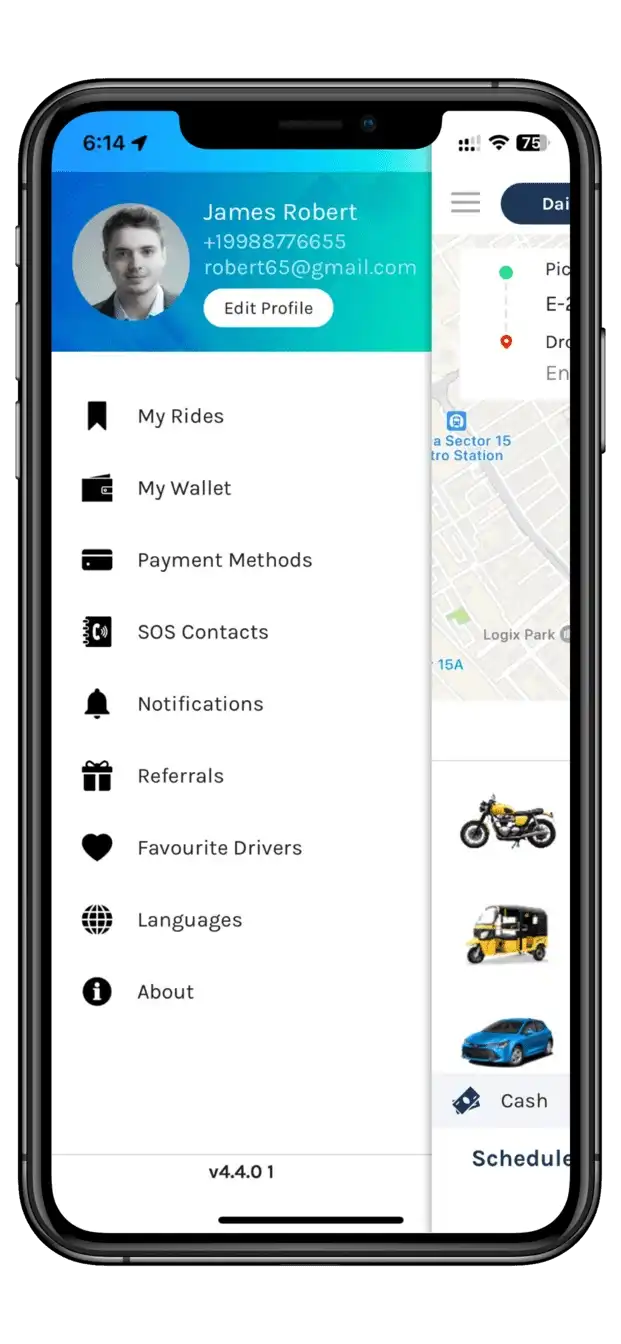
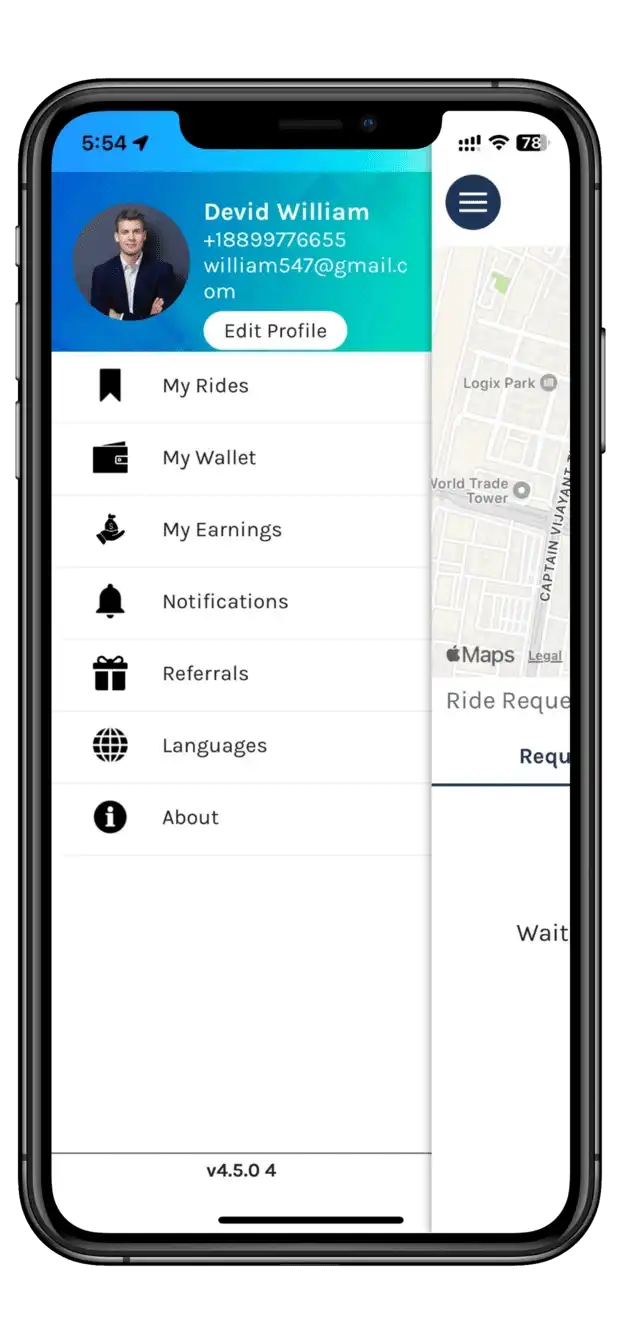
Side Menu & Account Management

Every account setting a rider or driver needs is tucked into one side menu — but what's inside it is different for each role.
Rider Side Menu
  • Trip history — every past ride in one place
  • Payments & wallet management
  • Edit profile details
  • Share app & referral rewards
  • Notifications center
Driver Side Menu
  • Manage uploaded documents
  • Trip history
  • Wallet statement
  • Daily & monthly earnings
  • Share app & referral rewards
  • Notifications center
rider app home screen with map driver app offline availability screen
4

Home Screen & Driver Availability

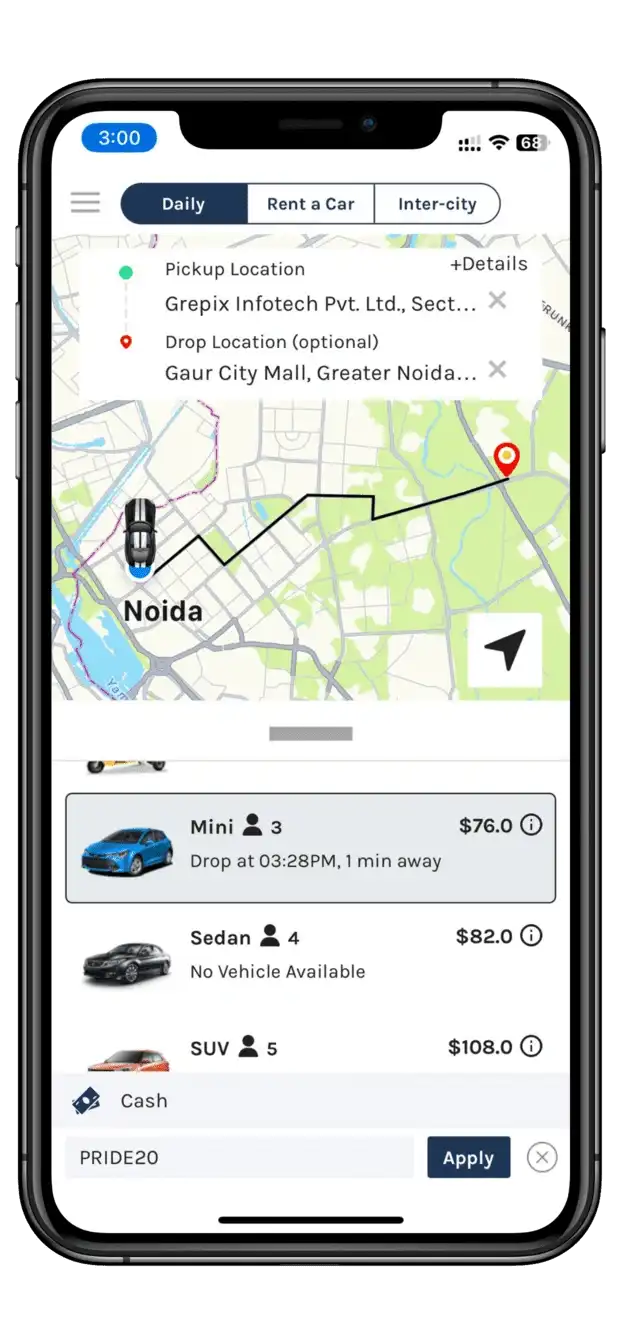
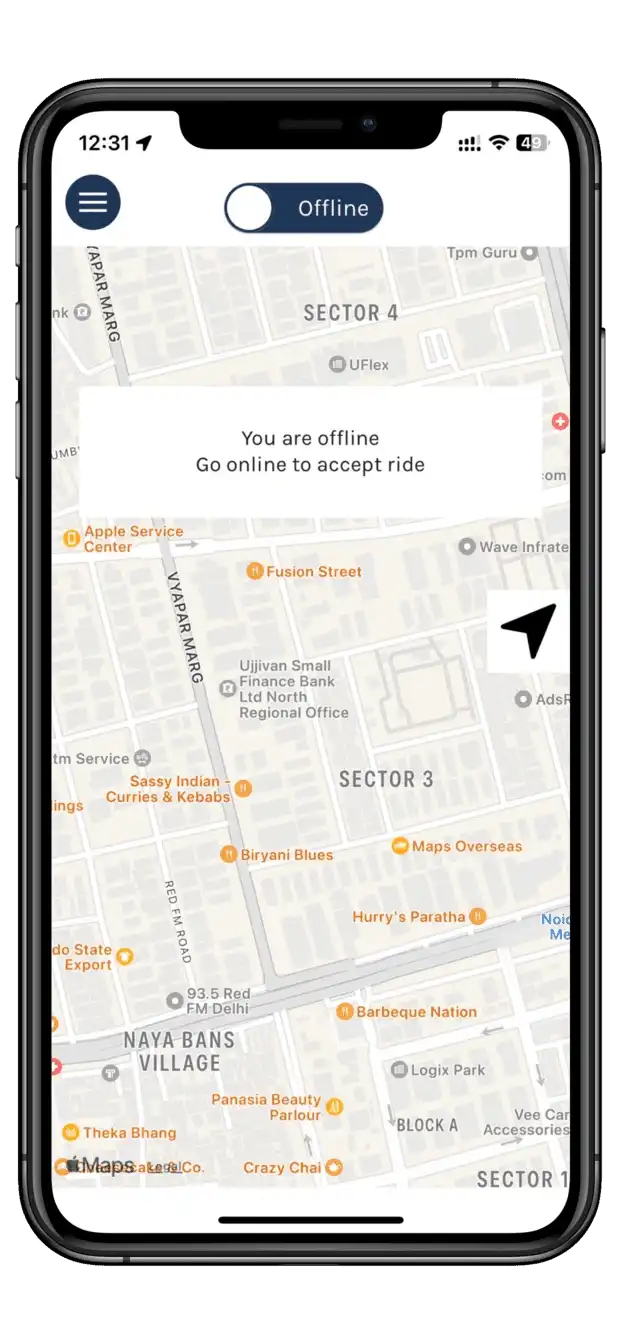
This is the screen riders and drivers see most — so it's built to get out of the way and let them act fast.
Rider Home Screen
  • Pickup location defaults to the rider's current GPS position automatically
  • Change pickup or drop by typing an address or dragging the map pin
  • Switch between ride modes: Daily, Rent a Car, or Inter-city
Driver Home Screen
  • One-tap toggle between Online and Offline
  • While Offline, the driver receives zero ride requests — full control over work hours
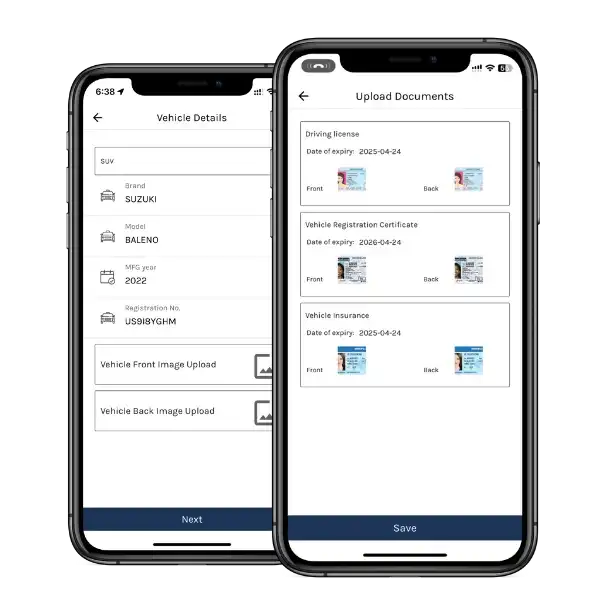
driver document and vehicle upload screen
5

Driver & Vehicle Document Verification

Trust and safety start here — no driver goes live until the admin has reviewed and approved everything below.
Vehicle Details Entered
  • Brand & model
  • Manufacturing year
  • Registration number
  • Vehicle photo upload
Documents Uploaded
  • ID proof
  • Driving license
  • Registration certificate (RC)
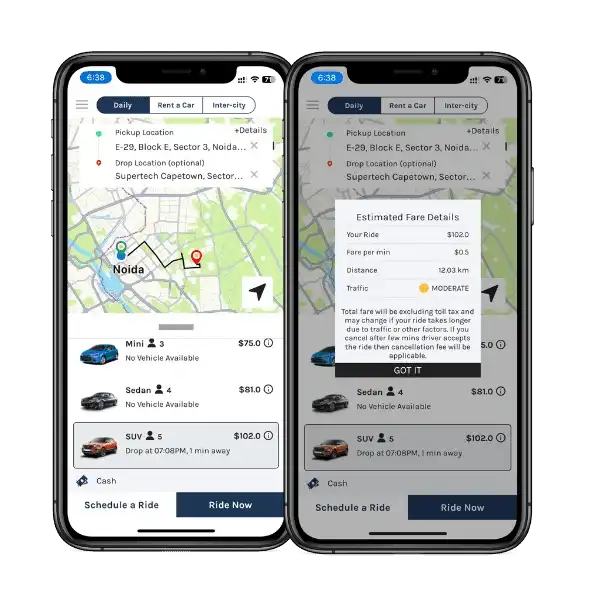
book a ride screen with fare estimate
6

Book a Ride

With pickup and drop set, the rider moves straight into choosing how they want to travel.
Vehicle Categories
  • Hatchback
  • Sedan
  • Mini
  • SUV
Fare Estimate Shown Upfront
  • Base fare, calculated on distance and current traffic conditions
  • ETA to pickup
  • Distance to destination
Booking Options
  • Book right now for immediate pickup
  • Schedule the ride for a later date and time
  • Apply a promo code before confirming
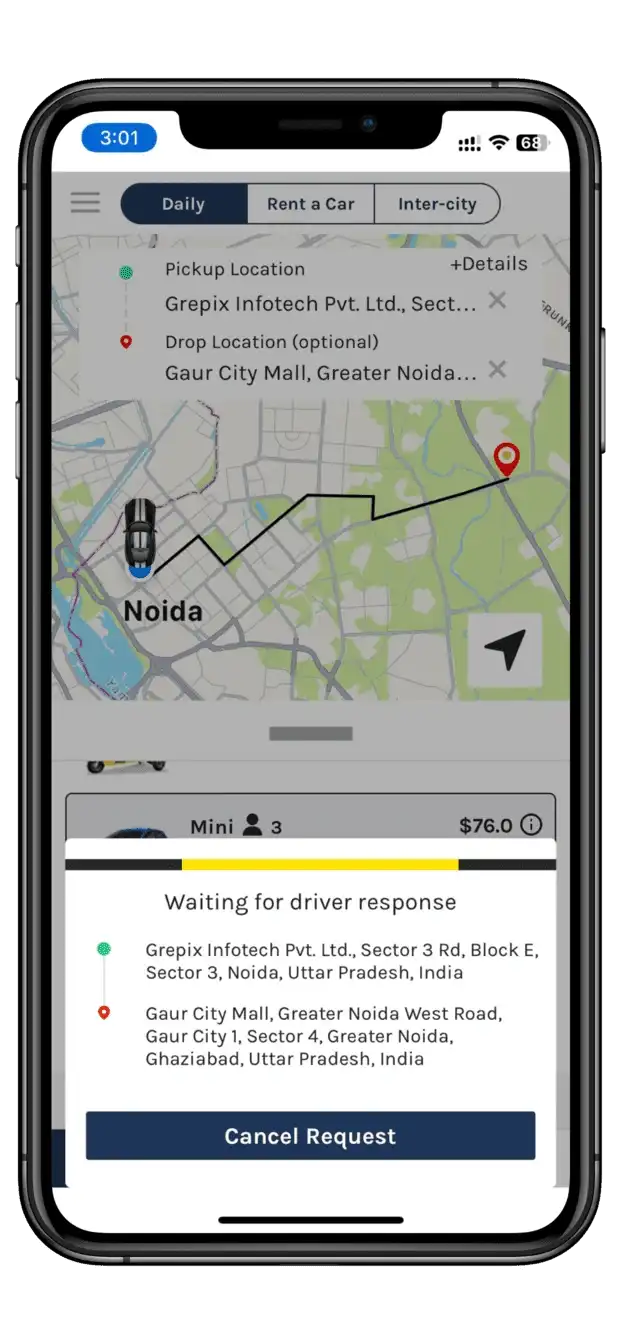
rider sending a ride request driver receiving a ride request notification
7

Ride Request Sent to Nearby Drivers

The moment a rider confirms, the system looks for the best driver to send it to — automatically.
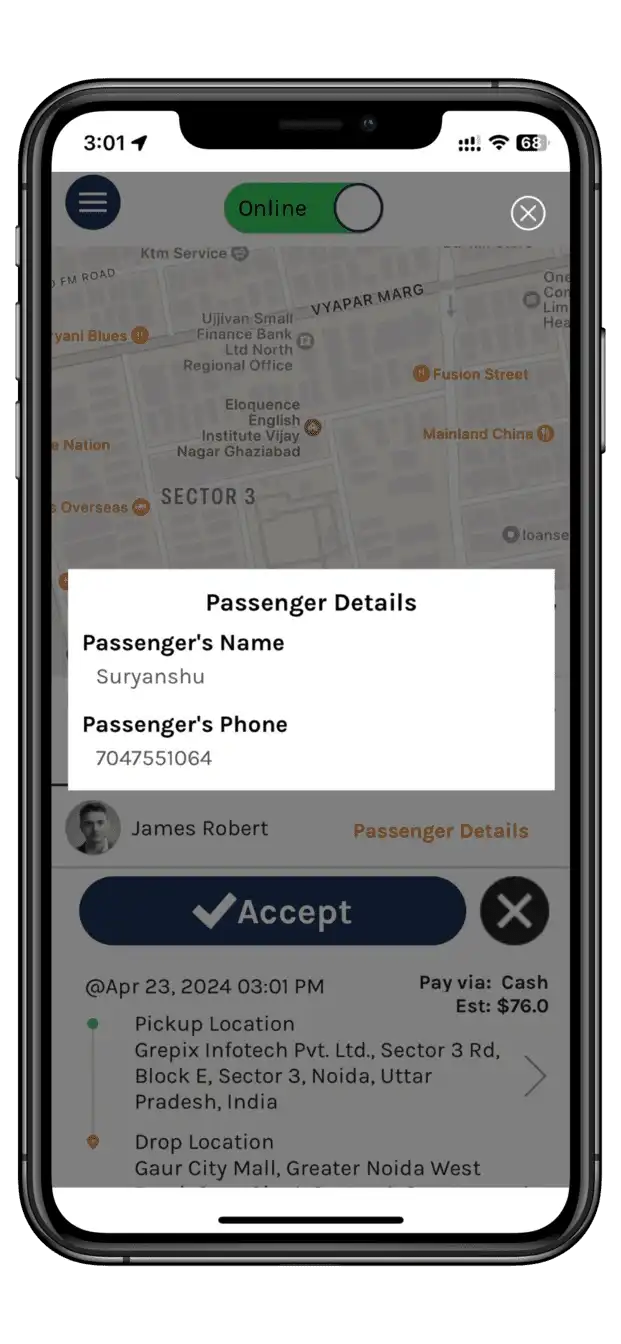
How Drivers Are Found
  • Request goes only to online, available drivers
  • Search radius is admin-configurable — start narrow, widen automatically if no one accepts
What the Driver Sees
  • A sound + push notification for the new request
  • Option to Accept or Reject within seconds
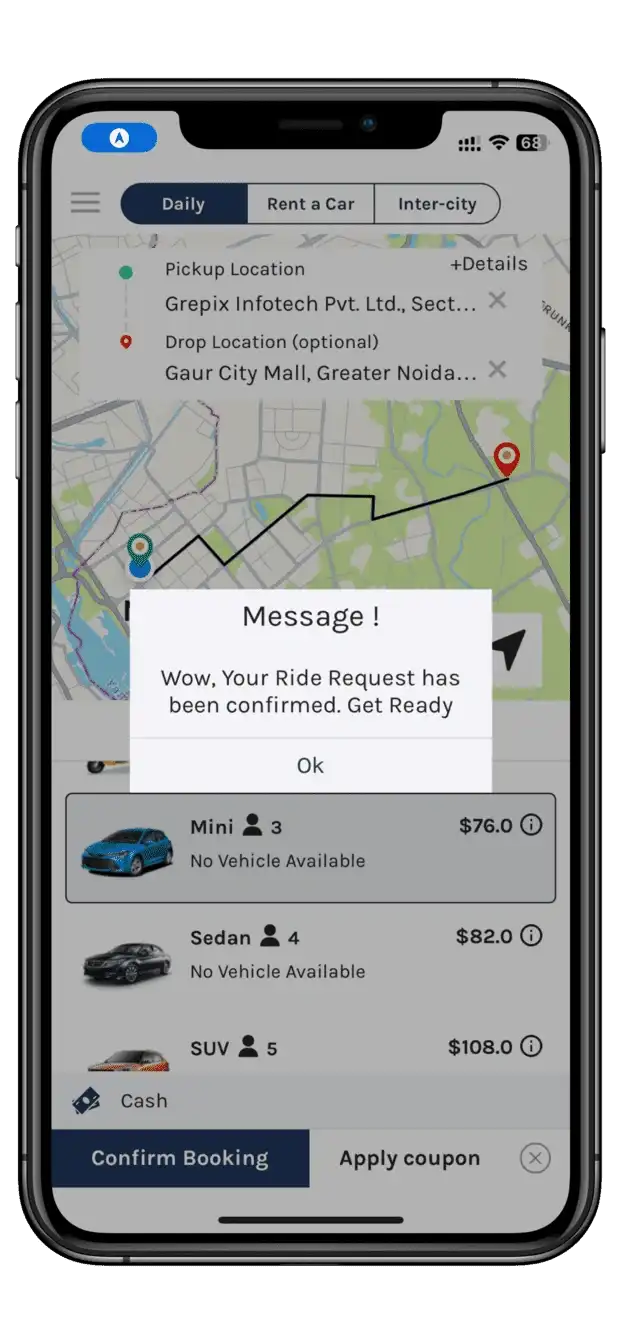
rider booking confirmation screen driver request accepted screen
8

Booking Confirmed

Once a driver taps Accept, both sides get exactly what they need to connect for pickup.
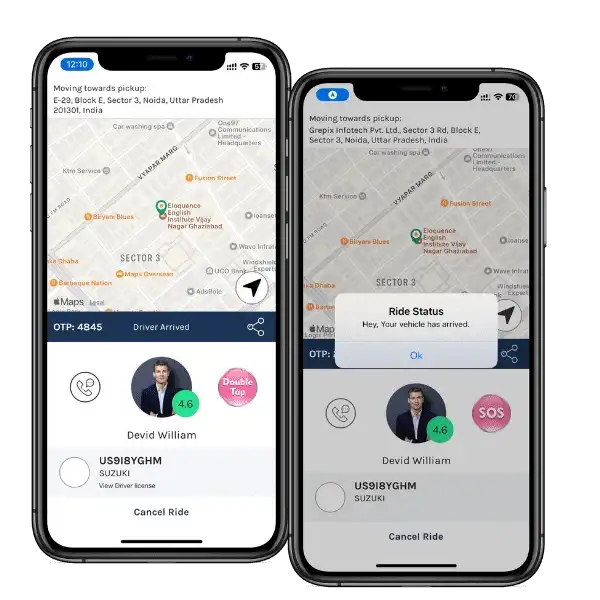
Driver Receives
  • Rider's name and contact number
Rider Receives
  • An instant booking confirmation notification
live ride status and driver tracking screen
9

Rider Gets Driver Details & Live Ride Status

From the moment of acceptance until pickup, the rider is never left guessing where their driver is.
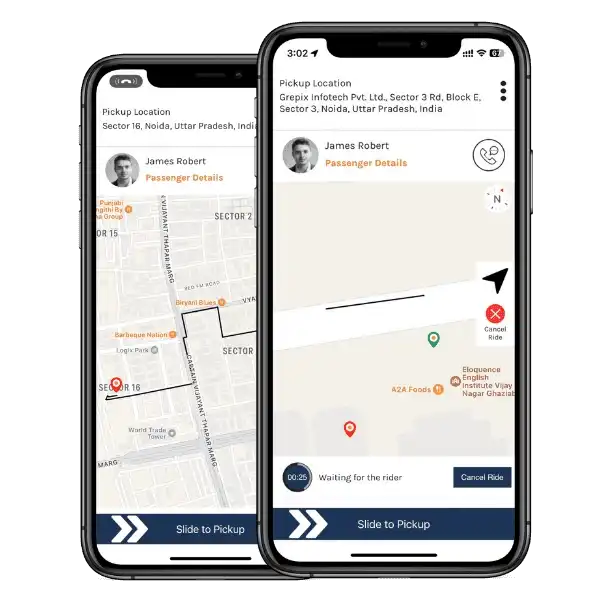
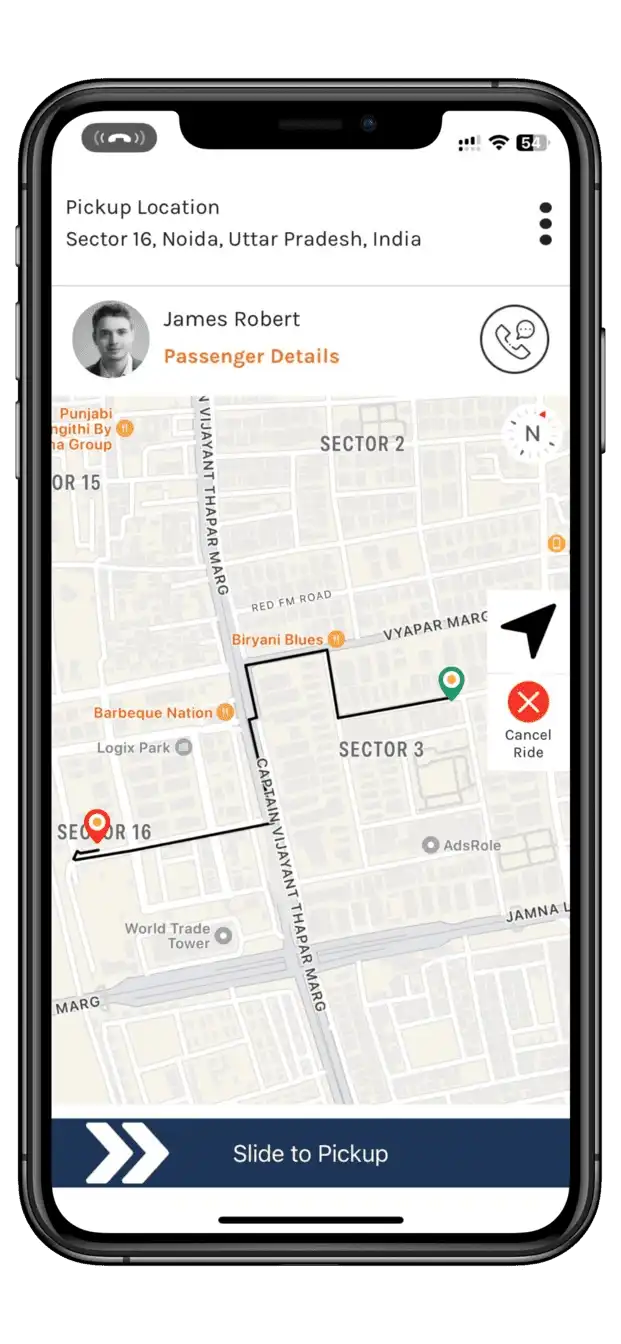
Driver Details Shown to Rider
  • Driver name
  • Vehicle photo
  • Vehicle plate number
  • Vehicle type
Stay Connected
  • In-app chat and call (numbers stay masked)
  • Live status updates as the driver gets closer to pickup
driver arrived at pickup location screen driver pickup trip screen
10

Driver Arrived & Pick-Up

A simple two-step handoff keeps this moment friction-free for both sides.
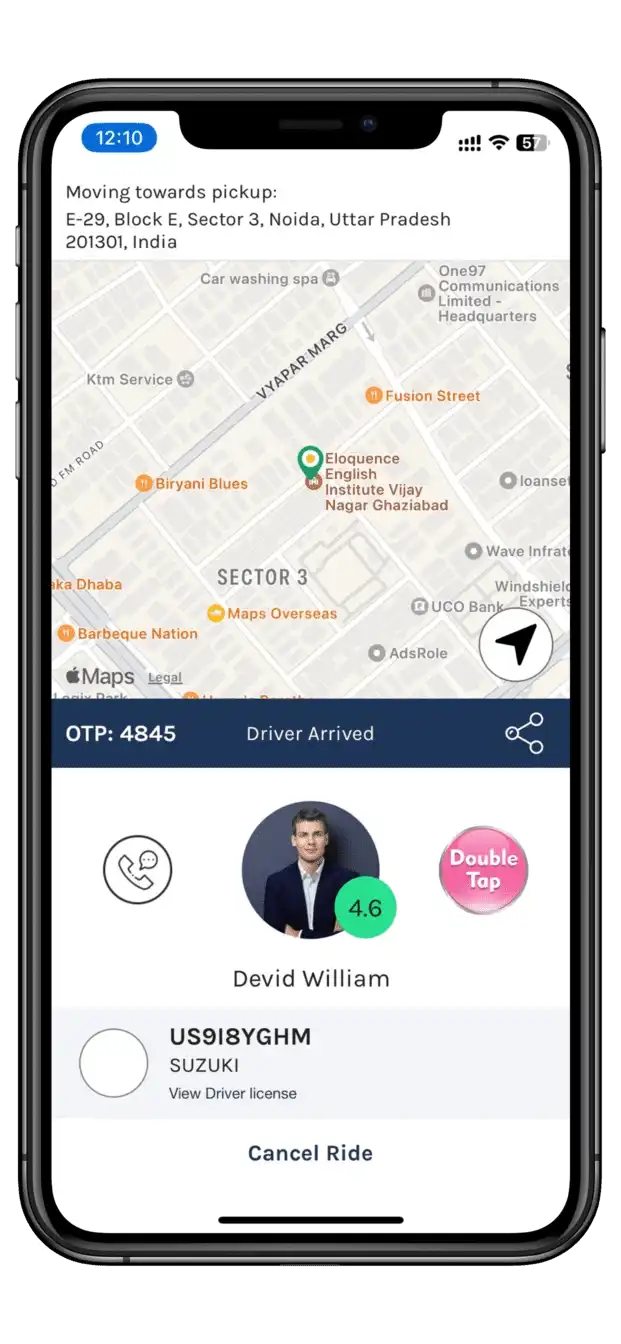
  • Driver reaches the pickup point and taps "Arrived"
  • Rider gets an instant arrival notification so they know exactly when to head out
rider OTP verification screen
11

OTP Verification & Ride Begins

A quick security check makes sure the right rider gets into the right vehicle, every time.
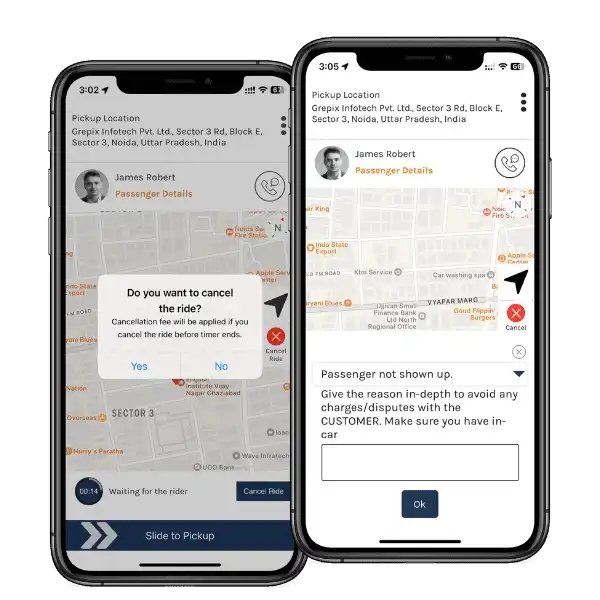
  • A 5-digit OTP is generated and displayed in the rider's app
  • Rider reads the OTP out to the driver
  • Driver enters the OTP in their app, which marks the ride status as "Pickup" and officially starts the trip
cancel ride screen
12

Trip Continuation & Cancellation Options

Real trips don't always go to plan — the workflow accounts for that too.
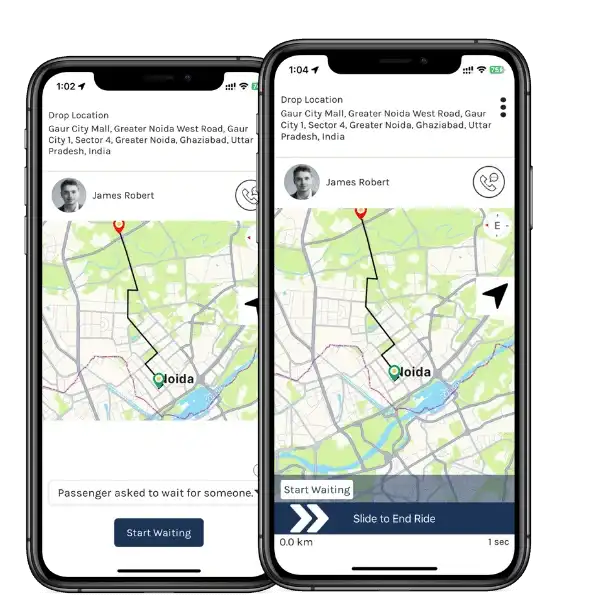
If the Rider Hasn't Shown Up
  • Driver can log a reason and choose to end the trip
Cancellation
  • Either the rider or the driver can cancel
  • A configurable cancellation fee applies where relevant, so drivers already en route aren't left out of pocket
end ride screen
13

Waiting Time & End Ride

Mid-trip stops are common — a quick errand, a second pickup point — so the fare stays fair for the driver's time.
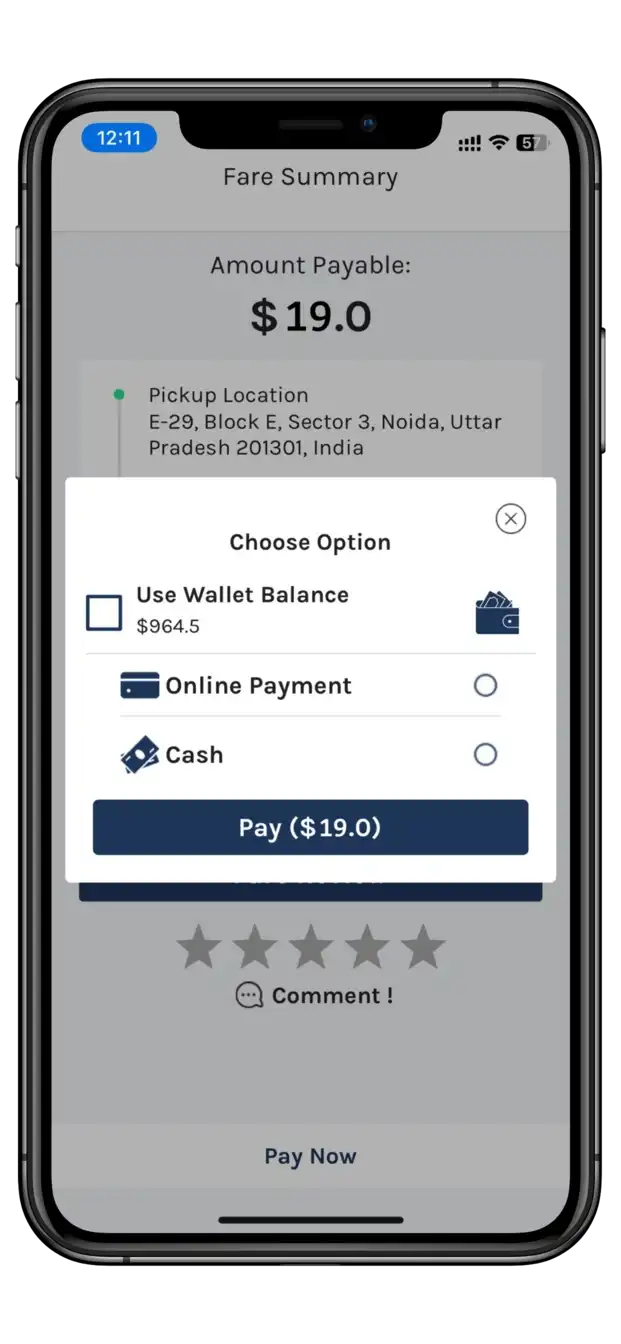
  • Driver taps "Start Waiting" if the rider needs a pause
  • Waiting time is logged automatically and added to the final fare
  • Driver taps "End Ride" once the drop location is reached
rider payment screen
14

Payments for the Ride

Riders shouldn't have to think twice about how they pay — the app supports whatever's most convenient.

Payment Methods
  • Card
  • Cash
  • In-app wallet

The moment payment clears, the driver receives a confirmation notification — so both sides know the trip is fully settled.
rider fare summary screen driver fare summary screen
15

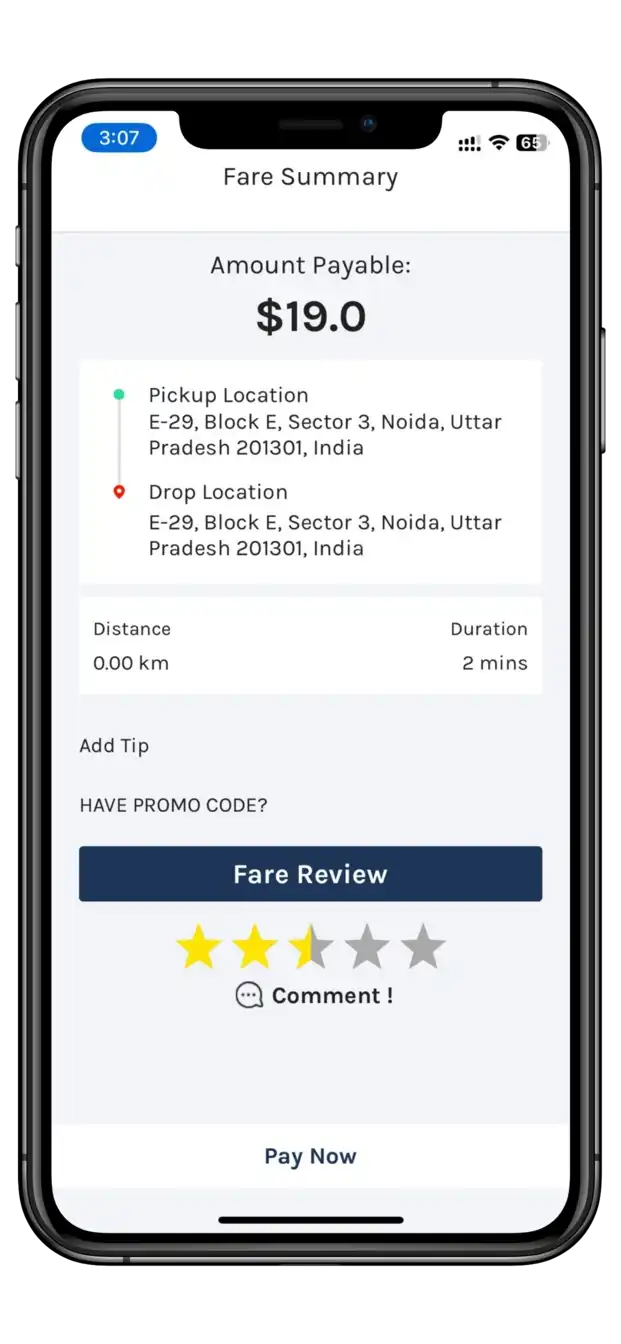
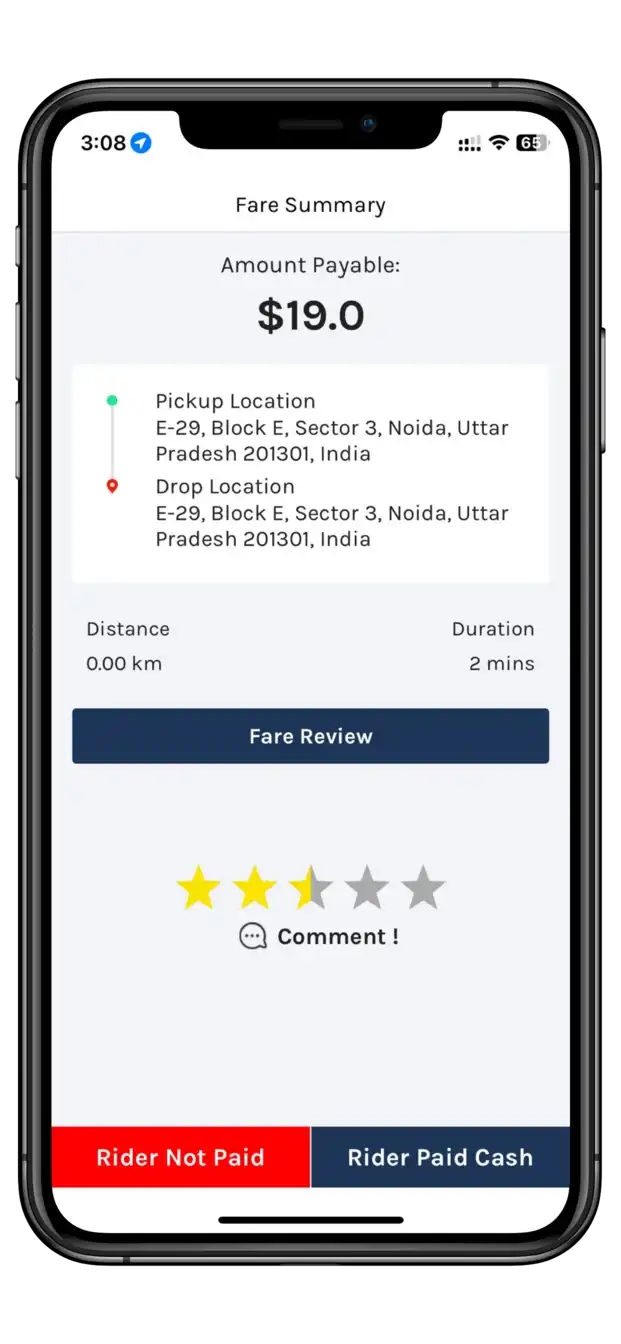
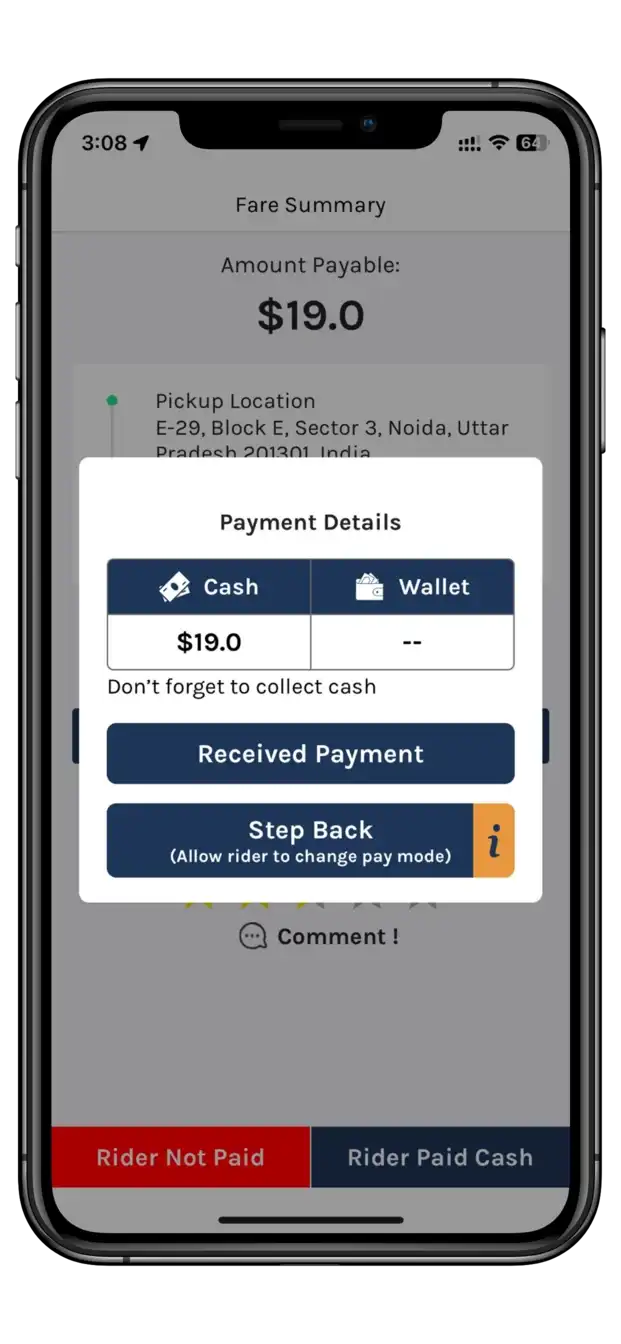
Fare Summary

Transparent billing builds trust on both sides — so each app shows a breakdown suited to what that person actually needs to see.
Rider Sees
  • Total distance
  • Total time
  • Amount paid
  • Promo code applied (if any)
Driver Sees
  • Distance & time
  • Waiting time charges
  • Ride cost & taxes
  • Promo code deduction (if any)
driver earnings and payout screen
16

Driver Gets Paid

Earnings are credited to the driver's in-app wallet immediately after the trip closes, then released to their linked bank account on your platform's regular payout schedule — daily, weekly, or however you configure it from the admin panel.
rider review and rating screen driver review and rating screen
17

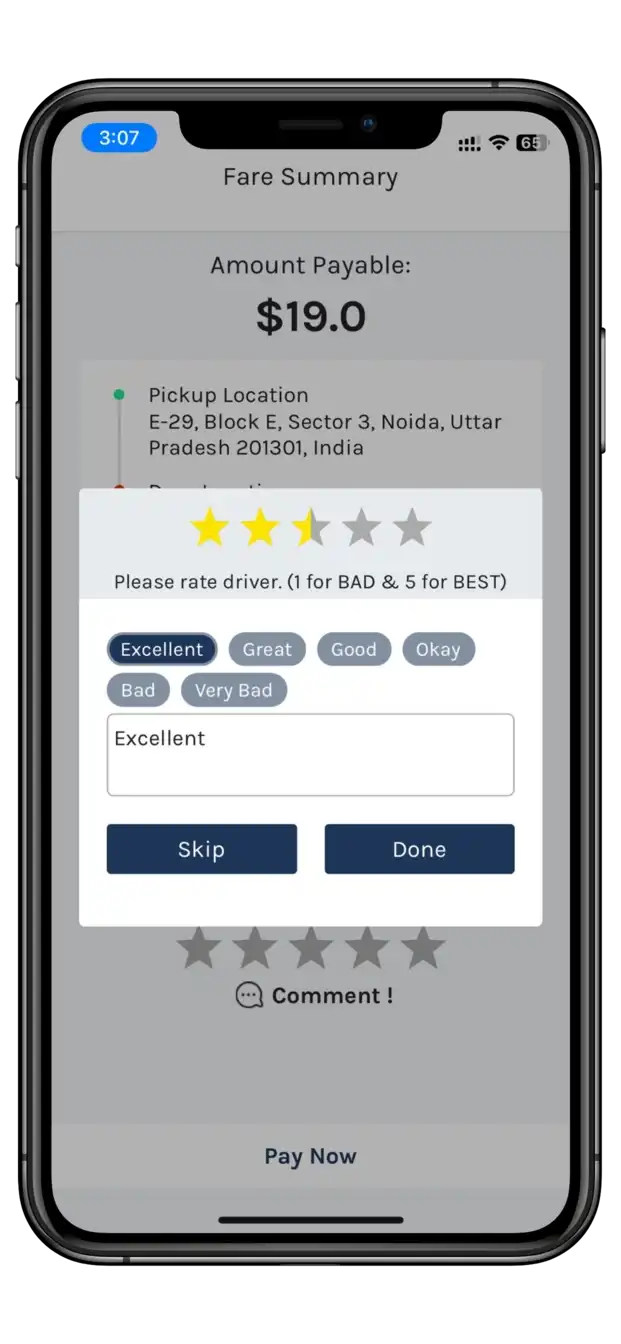
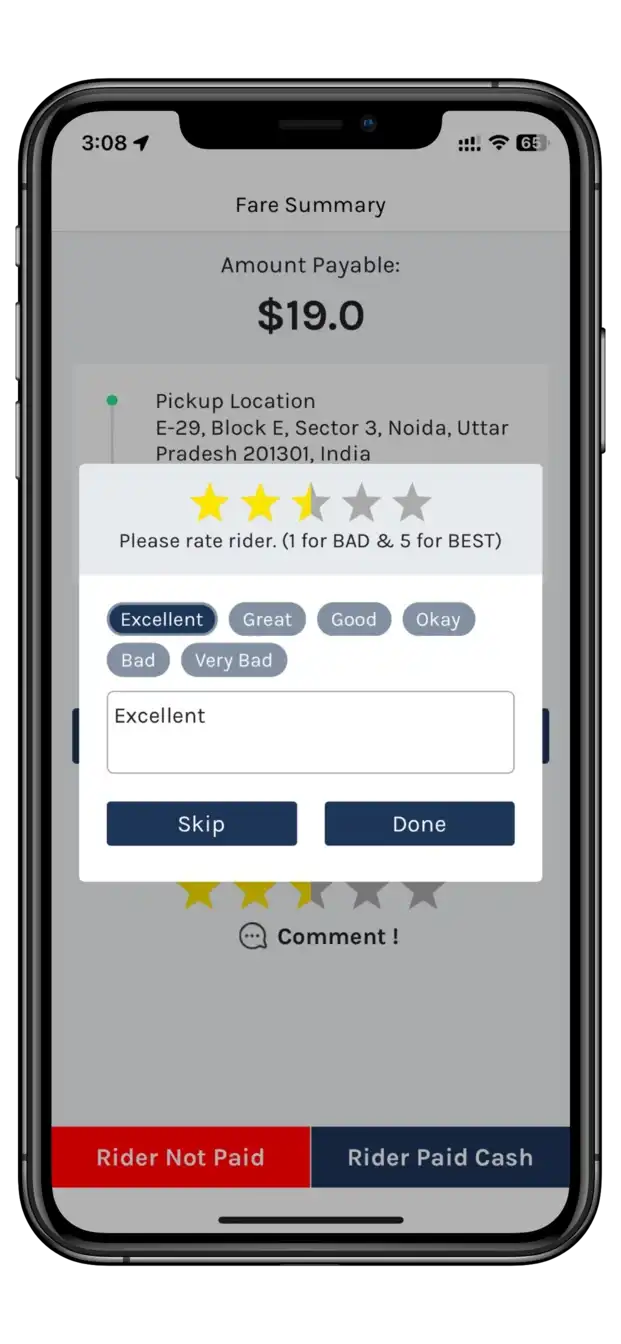
Ratings & Reviews

Trust in a two-sided marketplace is built one trip at a time.
  • Rider rates the driver — punctuality, vehicle condition, driving experience
  • Driver rates the rider — behaviour, timeliness
  • Optional written feedback from either side
rider trip history screen driver trip history screen
18

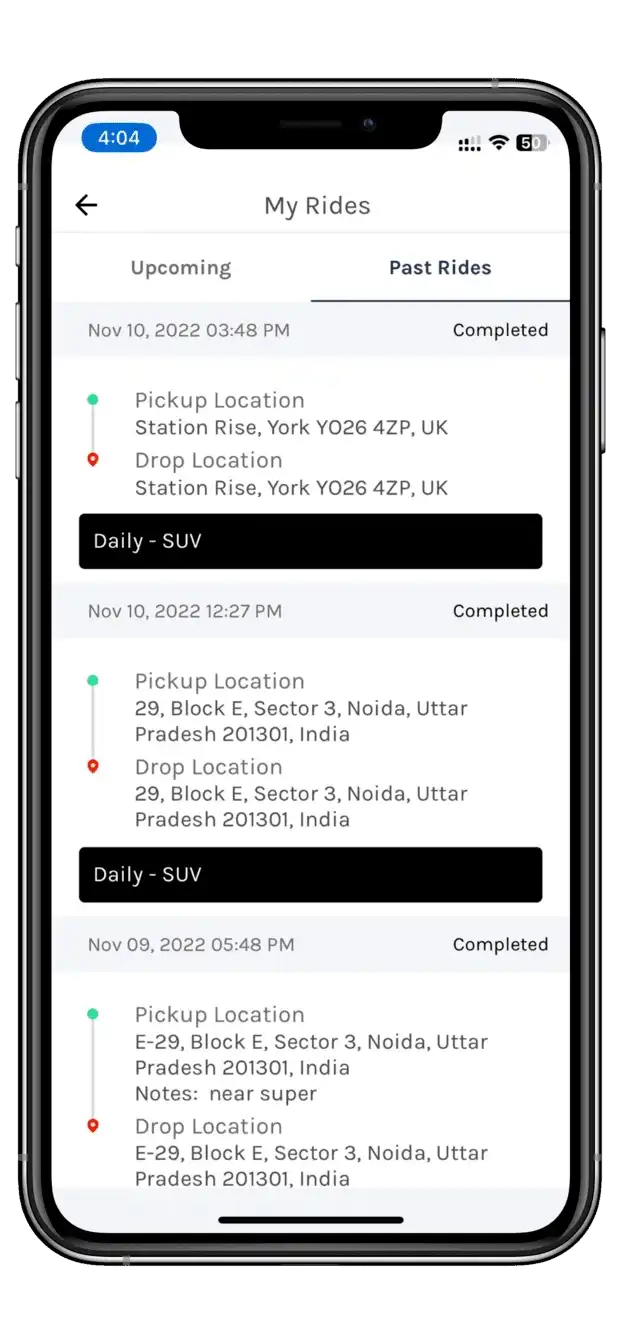
Trip History

Nothing gets lost — every ride is logged and searchable from both sides, long after the trip ends.

Every Record Includes
  • Both completed and cancelled trips
  • Pickup & drop location
  • Fare amount
  • Date & time of the trip
See It In Action

Want This Exact Workflow Running on Your Own Branded App?

This entire rider-to-driver-to-admin flow is available as a white-label solution you can launch under your own brand, or as the foundation for a fully custom build.

← Back to Taxi App Development Overview


mobile app development company in India